Tutorial
How to use the sticker maker
Making a sheet of stickers takes five steps: open the tool, add a picture or some text, choose the sticker, review the sheet, and print the PDF at 100% scale. The tool walks you through them — it opens in a guided mode with the steps numbered in order. No account, nothing to install, and your pictures never leave your computer.
- Open the sticker maker
- Add your design
- Choose the sticker
- Review the sheet
- Download the PDF and print
What you need
- A computer, phone, or tablet with a web browser. A computer is easiest for printing.
- A picture you like (a photo, a drawing, a logo) or just some words for text labels.
- A printer and sticker paper when you are ready to print for real. Plain paper is fine for trying it out.
Step 1: Open the sticker maker
Go to makemystickers.app. That is the whole setup: there is no app to install, no account to create, and nothing to pay for.
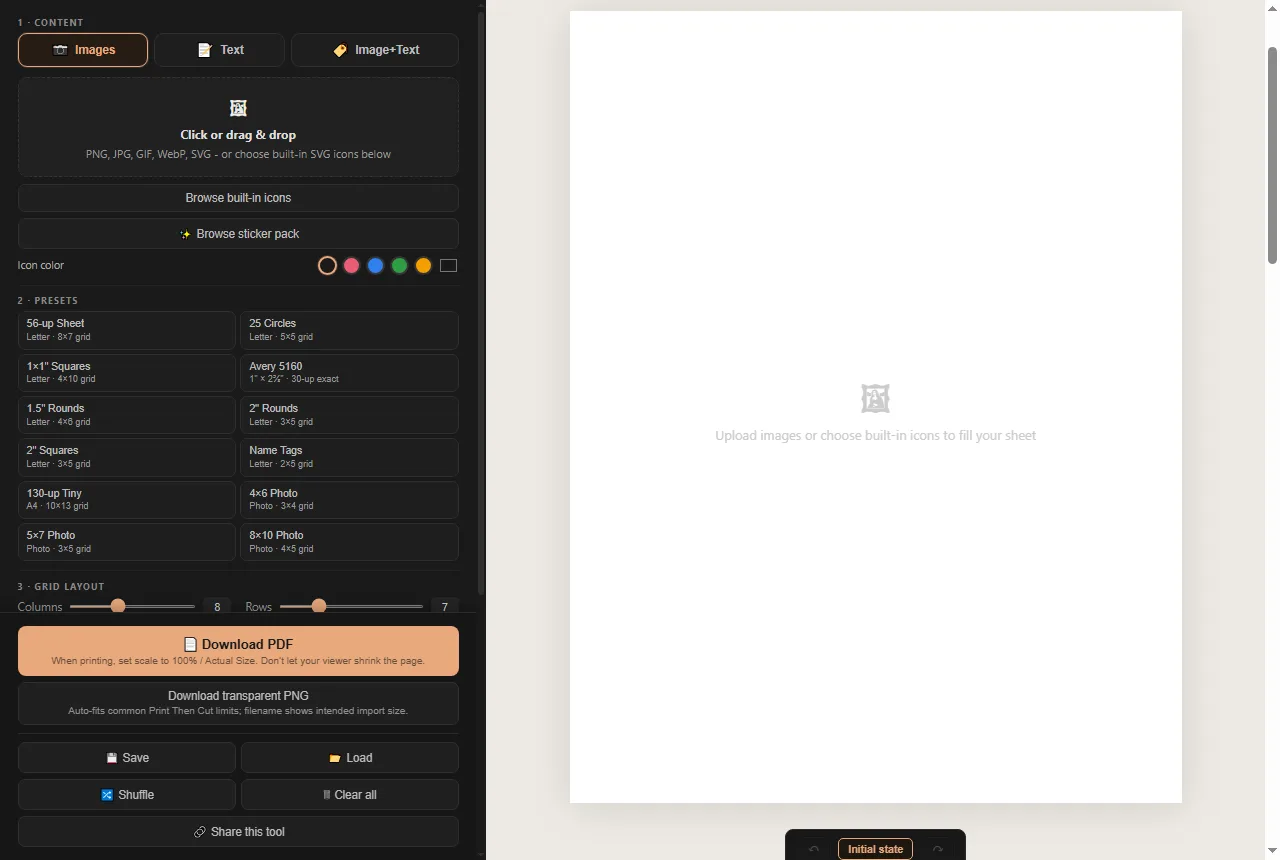
The screen has two halves. The dark panel on the left opens in Guided mode: four numbered step cards (Add your design, Choose the sticker, Review the sheet, Download) that you work through in order — each earns a checkmark as you complete it. The white page on the right is a live preview of your sheet, and it is exactly what will come out of your printer.
Prefer to drive everything yourself? The Guided / Full controls toggle at the top of the panel switches to the complete manual control set — presets, grid sliders, per-cell options — and the tool remembers your choice.
Step 2: Add your design
Open the first step card, 1 · Add your design. There are three tabs:
- Images: for picture stickers. Click the dotted box and choose a picture from your computer, or drag a picture onto it. You can also copy a picture anywhere and paste it with Ctrl+V.
- Text: for word labels (names, "Thank You", pantry labels). Type one line per label.
- Image+Text: for a picture with a caption under it, like a photo name tag.
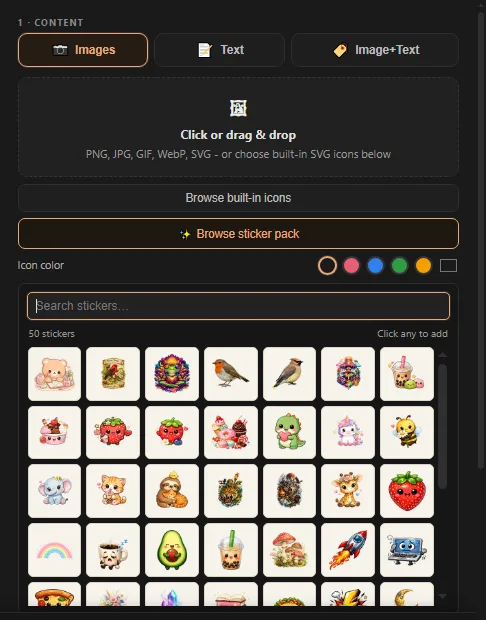
No picture handy? Click Browse sticker pack and you can pick from a built-in library. Click any sticker and it is added. There is also a Browse built-in icons button with simple shapes and symbols.
Step 3: Choose the sticker
Open 2 · Choose the sticker and answer one question: what are you printing on?
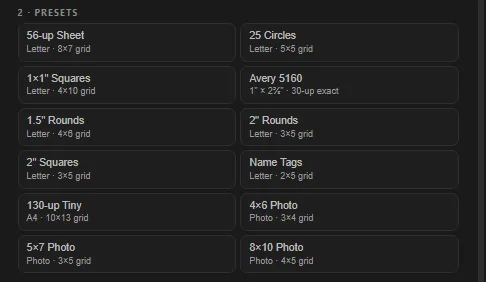
- Plain sticker paper: pick a shape (square, rounded, circle) and a finished size. Every size in the list shows how many stickers fit on a sheet — for example, 2 inches gives you 15 per letter-size page.
- Avery labels: if you bought Avery 5160 sheets (the common 30-per-page address labels) or another Avery product, pick its number and the layout locks to the exact label positions, so everything lines up with the sheet in your printer. Using a different number? Check the Avery label sizes chart.
Not sure? Just try one. You can change your answer at any time — your pictures stay loaded and simply rearrange into the new layout, so nothing is lost by changing your mind.
There is also a Layouts list beside the sheet (on the right on a computer) with pages built for specific projects: address labels, wine labels, name tags, waterslide decals, iron-on transfers, and more. Click one to open that project's page, and any pictures and text you have already added come along with you and drop straight into the new layout. That makes it easy to try the same design different ways (as round stickers, then as name tags, then as iron-on transfers) without starting over. Your pictures stay on your own computer the whole time; nothing is uploaded.
Need a layout the guided options don't cover? Switch to Full controls (toggle at the top of the panel) for ready-made presets plus Grid layout sliders that set columns, rows, and spacing yourself.
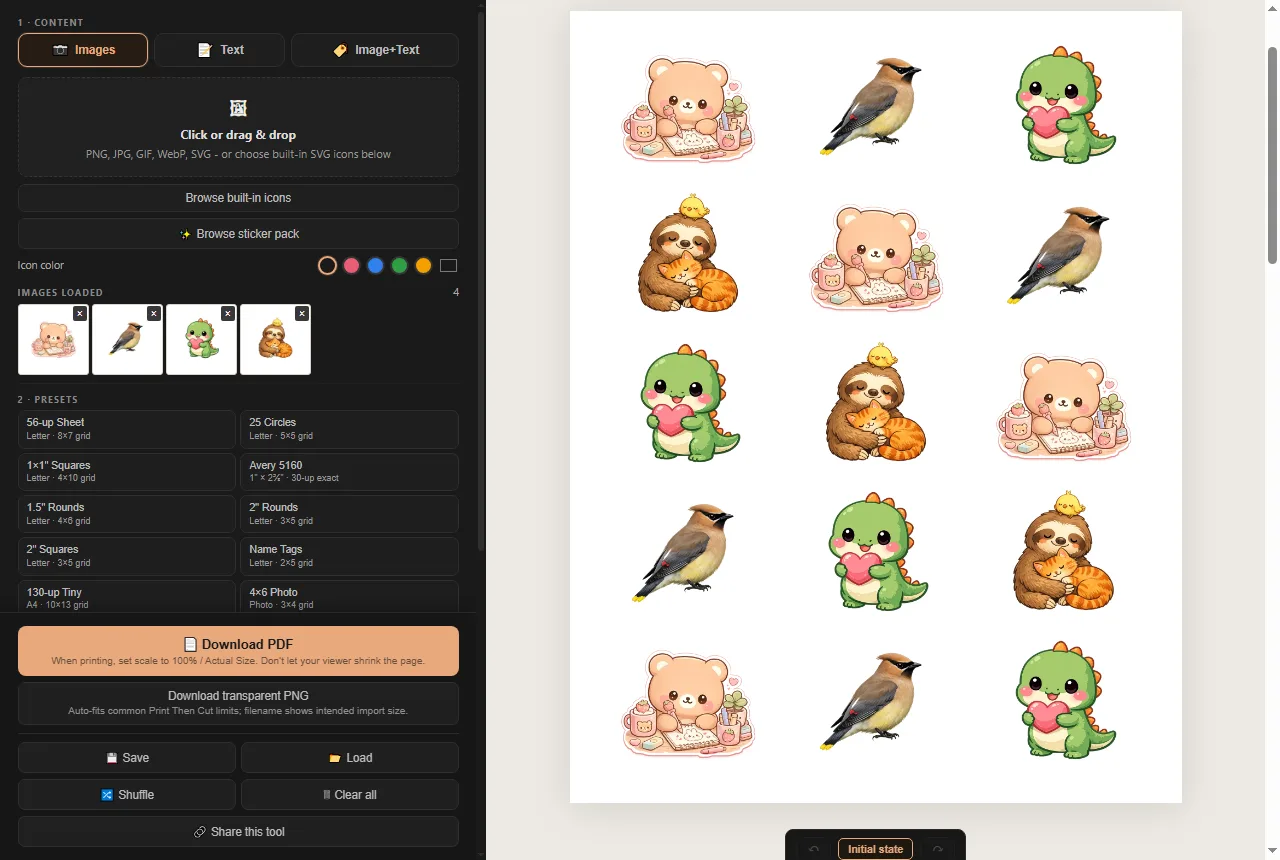
Step 4: Review the sheet
Open 3 · Review the sheet. It describes your sheet in plain language ("15 stickers · 2×2" circle on US Letter") and holds the options beginners usually want:
- Repeat one design across the whole sheet or, with several pictures loaded, use each in order or mix them randomly (Multiple images).
- Image fit: fit the entire image inside each sticker, or crop it to fill.
- Fix one sticker: click any sticker on the sheet to swap it, edit it, or blank it out.
Making text labels? This step also shows the font, weight, alignment, and color controls. Paper size (US Letter or A4) is set back in step 2.
Step 5: Download the PDF and print
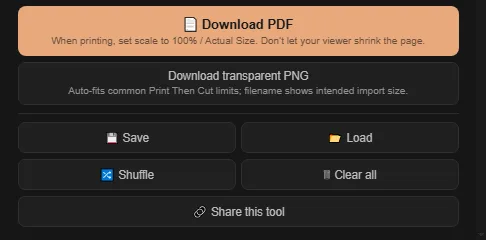
Open 4 · Download and click the orange Download PDF button. Open the downloaded file and print it. One setting matters more than everything else:
In the print window, set scale to 100% or "Actual Size". If the printer shrinks the page even a little, labels stop lining up with precut sheets.
Print your first copy on plain paper. If it looks right (for label sheets: hold the test page behind the real sheet up to a light), load your sticker paper and print again. For paper choice, printer settings, and cutting, see how to print stickers at home.
Three handy extras
- Save and finish later: the Save button downloads a small layout file to your computer; Load brings it back.
- Crop or clean up a picture: hover a thumbnail in the left panel and click the pencil to crop it or remove its background.
- Cutting by hand? Turn on Cut guides in the Review step to print faint lines to cut along. Leave it off for precut Avery sheets.
Frequently asked questions
Is the sticker maker really free?
Yes. There is no account, no sign-up, and nothing to install. The site is supported by affiliate links to printing supplies. The tool itself is free. More on that on the why is this free page.
Are my photos uploaded anywhere?
No. The sticker maker runs entirely in your browser, so your pictures stay on your own computer and are never uploaded to a server. Details are in the privacy policy.
Why does my picture only appear once on the sheet?
With one picture loaded it repeats automatically. With several loaded, each fills one spot by default — in the Review the sheet step, set Multiple images to Repeat one design to tile a single picture across the whole sheet.
Can I save my sheet and finish it later?
Yes. Save downloads a small layout file, and Load restores it later on the same or another computer.
Does it work on a phone or tablet?
Yes, it works in a phone or tablet browser. Printing is usually easiest from a computer connected to your printer.
What if my printed labels do not line up?
Almost always the print window shrank the page. Set scale to 100% or Actual Size, print a plain-paper test, and hold it behind the label sheet against a light. The printing guide has a full troubleshooting table.
What to read next
When the design is ready, how to print stickers at home covers paper, printer settings, and cutting. If you are shopping for supplies first, start with the sticker paper guide.