Guides
How to size a tumbler wrap for your cup
A 20 oz marking tells you how much a cup holds. For a wrap that closes at the seam, you need the width around both ends of the area you plan to decorate and the height between them.
1. Measure the area the wrap will cover
Mark the upper and lower edges of the printable band. Measure straight across the outside at each mark, then measure the vertical distance between them. If a handle or rounded shoulder interrupts the band, choose a smaller continuous area. A full tapered template assumes a straight slope between those marks.
2. Enter the two diameters and height
Open the tumbler wrap maker, choose inches or millimeters, then enter Top Ø, Bottom Ø, and Height. If you used string around the cup, divide each measured circumference by π before entering it. For example, 9.42 inches around gives a diameter of about 3.00 inches.
3. Check the shape and seam
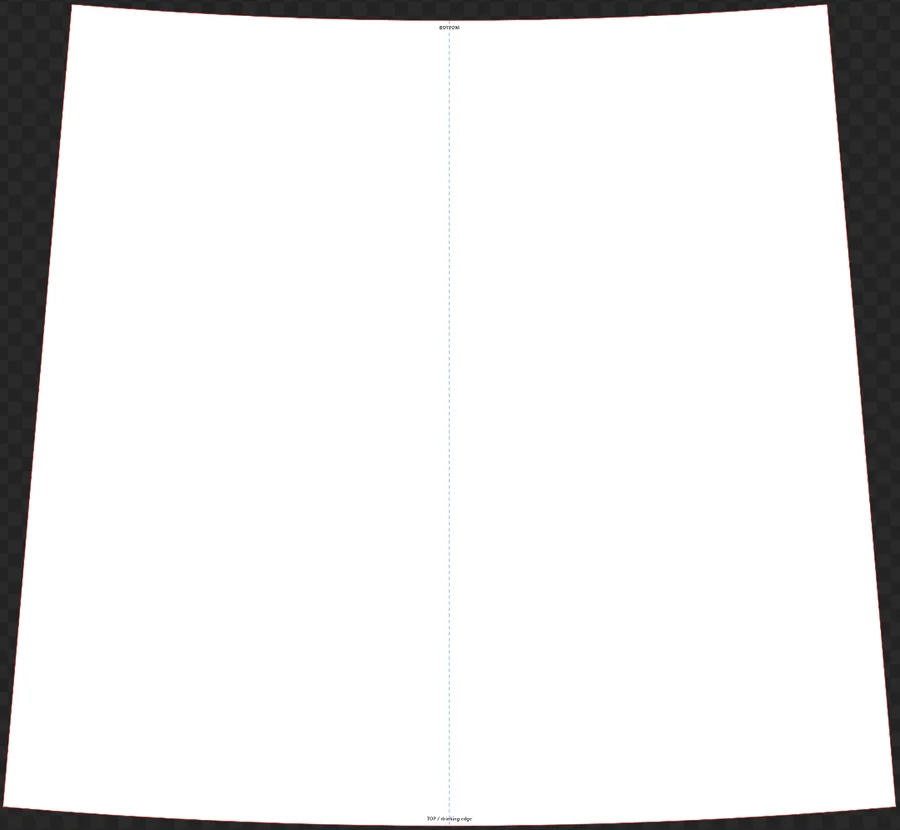
With matching diameters the preview is a rectangle. Different diameters produce a curved band. Start with zero seam overlap to check an edge-to-edge fit. For a deliberate overlap, add the amount once in the Seam overlap field. Keep names and faces clear of that edge.
4. Print and fit a paper template
Leave artwork empty and enable Include output guides. Use Print / Save as PDF at 100% on plain paper, cut the outline, and wrap it around the cold blank. Check both ends of the seam. If the tool warns the wrap exceeds Letter, download the PNG and print on larger paper at its original dimensions.
5. Export the artwork at the tested size
Upload the artwork, keep the measured dimensions, choose 300 DPI, and turn off output guides for the finished artwork. Download the PNG. If another app imports it, confirm its physical size before printing. For sublimation, use the transfer paper and blank supplier’s instructions for mirroring and pressing.
What the paper seam tells you
- A gap the same width from top to bottom. Measure the print against the expected size first. If it is short everywhere, check print scaling before changing the cup dimensions.
- The top closes and the bottom overlaps. Remeasure the bottom at the lower edge of the band. Measuring at the narrower foot gives a different template than measuring where the artwork ends.
- The paper buckles in the middle. Sight down the side of the cup. An hourglass shape or curved shoulder may need a shorter band or separate decals. For a small logo on one face, see how to make a waterslide decal.
Frequently asked questions
What size wrap do I need for a 20 oz skinny tumbler?
Measure your blank. The maker’s tapered 20 oz preset produces an 8.77-inch top edge and a 7.41-inch bottom edge before overlap. Another 20 oz blank can have different dimensions.
Why does my tapered template look curved when it is flat?
The upper and lower edges travel different distances around the cup. The curved outline lets both edges meet at the same seam.